AI Image Prompt: Achieving a More Realistic Render
Write a realistic AI image prompt specifying the scene, lighting, materials, and framing, then correct flaws with a clear method.
Select the link, then copy it using your device menu or Ctrl/Cmd + C.
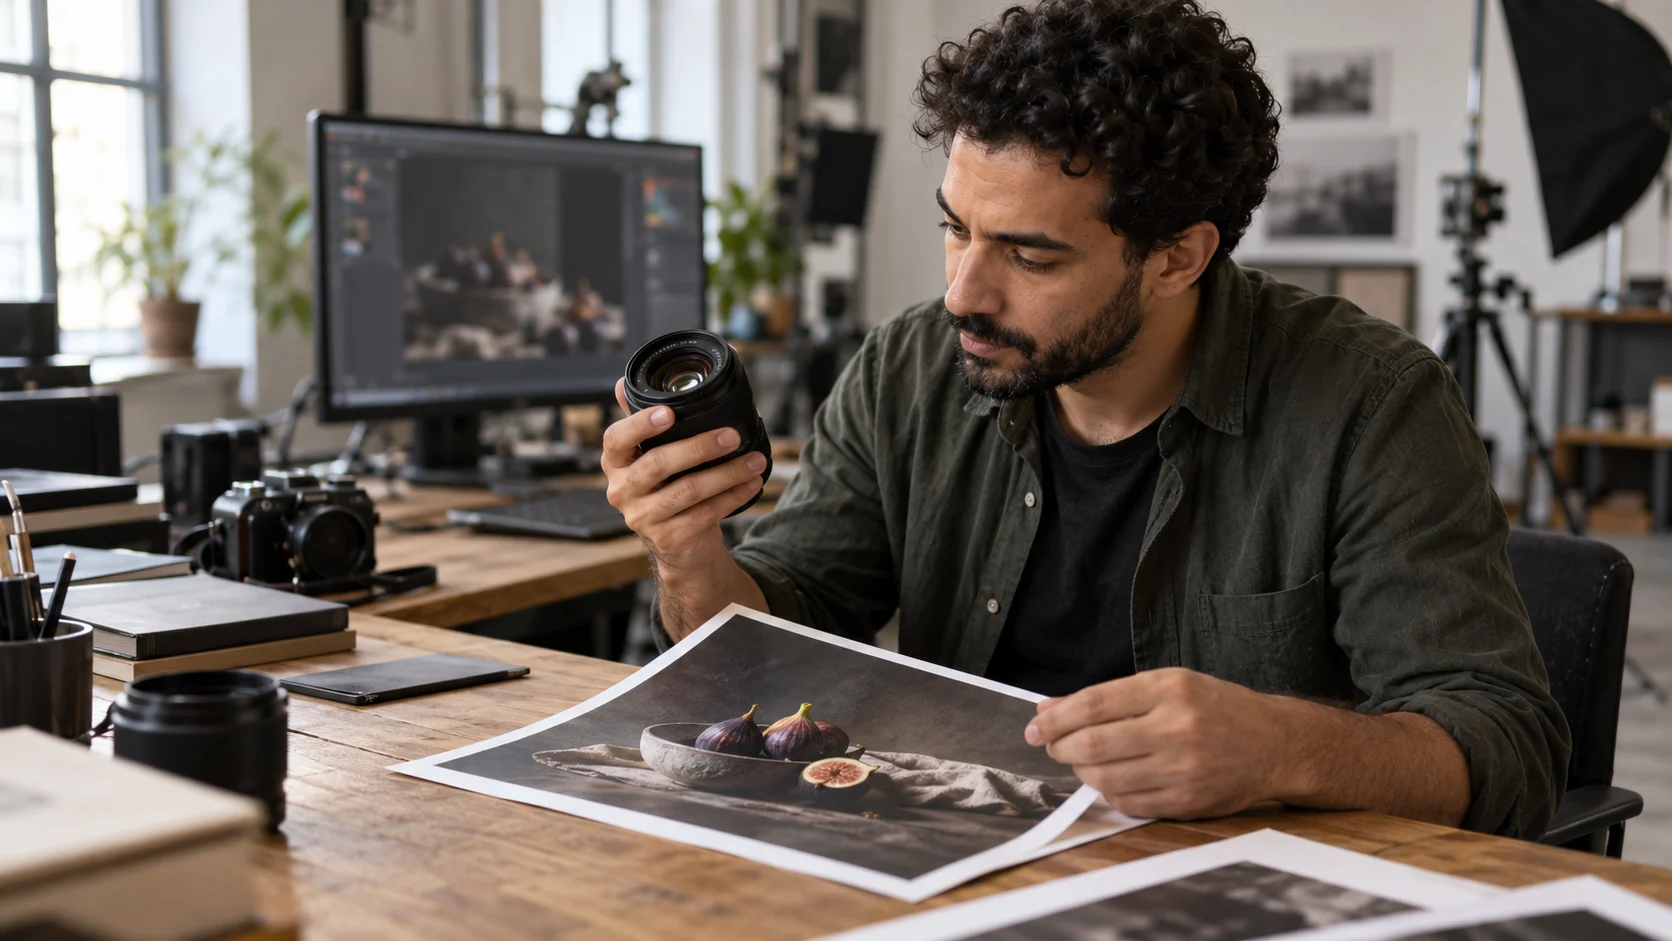
“An entrepreneur in an office, photo-realistic, very high quality” lets the AI choose the setting, gesture, lighting, and almost everything else. To achieve a more believable scene, replace adjectives with visible elements: a person reviewing a quote, a window lighting the side of the face, documents placed on a wooden table, the screen remaining out of focus.
A realistic AI image prompt describes a possible scene. It then serves as a reference to evaluate the result: do the objects, gestures, and lighting tell the same story? This method helps prepare an editorial illustration, a campaign mood, or a presentation image.
Describe an Action Before Choosing a Style
Start with a simple sentence: who is doing what, where, and with what object? “A florist wrapping a bouquet on the counter of her workshop” provides a subject, an action, and an environment. “An inspiring professional” indicates nothing verifiable in the image.
Keep one main action per scene. If the person must simultaneously phone, write, smile at a colleague, and hold a product, the result may become hard to read. Choose the gesture that best conveys your idea. Other elements can remain in the background or belong to another image.
Specify the illustration’s role. For an article on preparing a brief, a notebook and a thoughtful posture suffice. For a product demonstration, the gesture and object must be more legible. The composition is decided based on this use, before adding decorative details.
Provide a Credible Setting and Materials
Two or three concrete details make a place identifiable: worn wooden counter, crumpled kraft paper, and a bucket of flowers in the background. There is no need to list every object in a workshop. The more cluttered the setting becomes, the more you must check secondary elements.
Name the materials the viewer will actually see: matte ceramic, cotton fabric, brushed metal, transparent glass, or thick paper. Then describe their expected appearance with restraint. A surface can be slightly irregular or bear signs of use; an accumulation of flaws does not automatically make an image natural.
For people, request a plausible posture, an expression suited to the activity, and natural proportions. Use fictional characters when illustrating a professional situation. The brief can specify diversity consistent with your audience without turning identity into a staging accessory.
Choose Lighting and Framing Together
Indicate a main light source: side window, diffuse studio light, or overcast outdoor. Add the desired mood, for example calm and neutral. Avoid pairing a room lit by very direct sunlight with completely absent shadows if this contradicts the intended rendering.
The framing must show the action. A very tight portrait may suit an expression; it will hide hands preparing an object. A wide shot describes a place but may render details unreadable. Request enough space around the subject for the intended use, especially if your site crops images on mobile.
You can use photographic vocabulary when you know the effect you want. Otherwise, simple phrasing suffices: slightly blurred background, full subject, visible table, natural perspective. Adding a list of devices and settings without clear intent makes the brief harder to review.
Assemble a Complete and Focused Prompt
Here is a fictional example illustrating an article aimed at small businesses. The scene does not depict any real workshop.
Ultra-realistic editorial photography, horizontal 16:9 format. A fictional adult florist wraps a bouquet on the wooden counter of her workshop. She looks at her hands as she folds natural kraft paper around the stems. A few buckets of flowers remain blurred in the background. Soft light coming from a window on the left, natural colors, credible texture of paper and fabric. Three-quarter framing showing the face, hands, and entire bouquet. No readable text, no brand, no watermark, no floating interface. A single scene, natural anatomical proportions.
This prompt fixes a gesture, a material, a light, and a frame. Each element can be controlled in the image. It contains no abstract promises like “perfect render.” The exclusions respond to a specific need: avoid fake logos, distorted inscriptions, and elements unrelated to the activity.
For a campaign, the advertising brief and its variants allow defining what changes between several images. Keep a common base and vary one angle or setting at a time.
Correct a Flaw Without Reinventing the Whole Scene
Evaluate the result starting with the subject and gesture. Then look at the hands, connections between objects, shadows, and reflections. Finish with small details: edges, attachments, patterns, and any inscriptions. Note the flaw as an observation: “the hand holds the paper in an unlikely position” is more useful than “not realistic enough.”
Request a limited correction when the tool allows: keep the setting, framing, and colors, modify only the hand’s position. If you restart a full generation, reuse the base prompt and add the correction in the right place. Check elements that already worked, as they may also change.
Keep the chosen prompt, the image, and a note on its use. For a video series, prepare scenes in a storyboard before seeking to multiply visuals. Continuity of places, objects, and actions is prepared in this document.
Create your CREZOVA space to prepare your briefs and explore available image tools. Start with a simple scene, then keep only the details that serve its message.
FAQ: Improving the Realism of a Generated Image
Should I pile on terms like “realistic” and “high quality”?
A style indication usually suffices for the brief. Focus mainly on the action, materials, lighting, and framing. These are the elements that give you concrete criteria to compare proposals.
Why does a convincing image still contain errors?
The result must be examined in detail, even when the whole seems plausible. Prepare a checklist adapted to the scene: anatomy for people, geometry for objects, continuity for a series. Retain the image after this verification.